When developing or operating a website on a VPS, logging PHP errors is an important step to help you quickly detect and troubleshoot issues. This article will guide you on how to enable PHP error logging and check errors effectively.
Why Enable PHP Error Logging?
PHP error logging helps you:
-
Detect errors in the source code early.
-
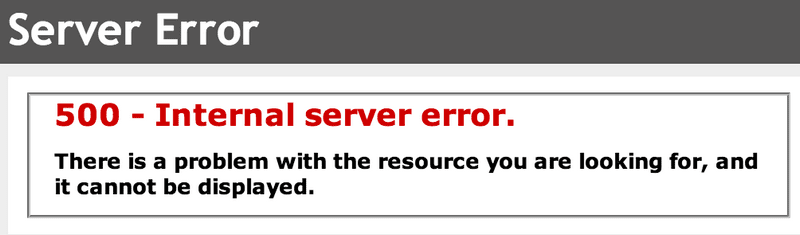
Identify the cause of 500 Internal Server Errors.
-
Monitor and review website activities.
How to Enable PHP Error Logging on VPS
1. Using cPanel
If your VPS uses cPanel, you can enable PHP error logging as follows:
-
Log in to cPanel.
-
Select Select PHP Version.
-
Click Switch to PHP Options.
-
Find the
error_reportingline and chooseE_ALL. -
Make sure
display_errorsis set toOffto avoid showing errors in the browser. -
Changes will be saved automatically.
2. Using php.ini File
If you have access to the php.ini file, you can add or edit the following lines:
Replace /path/to/your/error.log with the actual path to the log file you want to use.
3. Using .htaccess File
If you cannot edit php.ini, you can use the .htaccess file in the root directory of your website:
Note: Make sure your server supports PHP directives in
.htaccess.
How to Check Logged PHP Errors
After enabling PHP error logging, the errors will be saved in the log file you specified. To check them:
-
Use FTP or a file manager to access the log file.
-
Download the file to your computer and open it with a text editor like Notepad++ or Sublime Text.
-
Look for error lines to determine the cause and location of the error in your source code.
Note: Do not open large log files directly in a browser, as it may cause the browser to hang.
Conclusion
Enabling PHP error logging is a crucial step in developing and operating a website on a VPS. It helps you quickly identify and fix issues, ensuring your website runs smoothly and efficiently.
If you need further assistance, don’t hesitate to contact our technical support team at https://upnet.com.vn/. We are always ready to assist you 24/7.